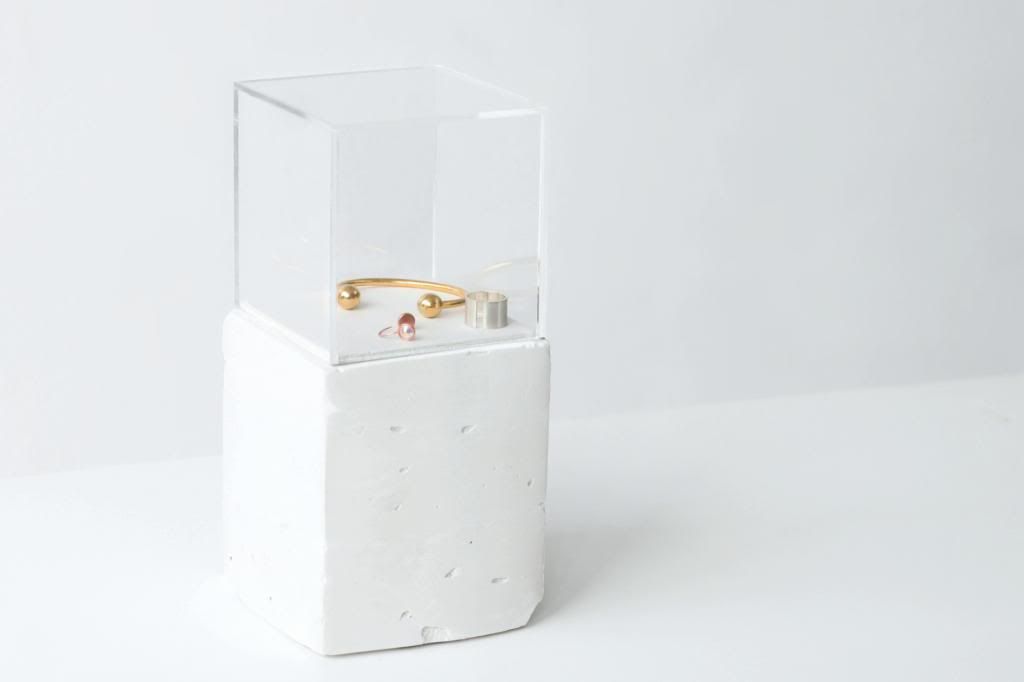
What I like to do is pretend that my wardrobe is a little boutique and 'merchandise' parts of my clothes and accessories into little collections. That's why I wanted to make one of those display columns you usually see at art galleries and boutiques that showcase the most exclusive, special pieces. A very small one though for my current favorite jewelry that will fit on a shelf.
I chose for moulding plaster instead of concrete, it is whiter, lighter in weight and more delicate. It was a super nice and messy experiment. But while getting to know this material a bit better and trying out several techniques at the same time, I didn't document every single step, but I'll do my best to explain it in words.
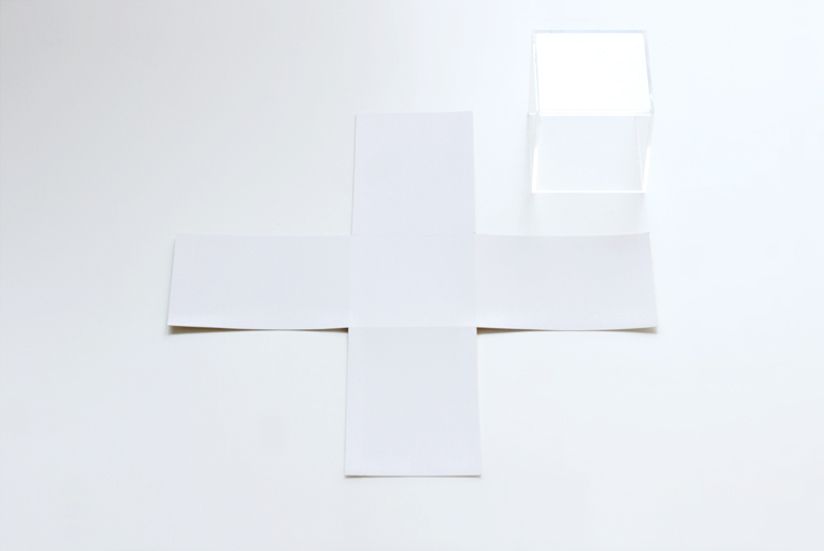
1/ Make a mold for your column with the cardboard, it should be about 2mm wider than your perspex cube on each side.(see image 3)
2/ Cover the mold with duct tape on the inside to make it waterproof. Fold the mold into shape and on the outside cover it with duct tape as well to avoid any leakage and to keep it in shape once the plaster will start to set.
3/ Make your plaster mixture and pour it in. Tap on the sides of the mold with a pencil for a couple of minutes to create vibration in the mixture and remove air bubbles.
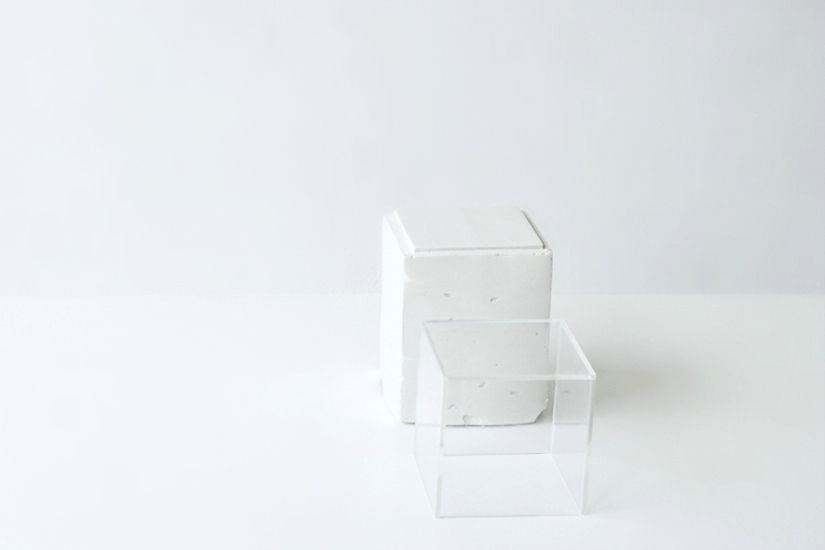
4/ After a couple of hours remove the mold. But let the massive block dry completely for two more days.
5/ With sandpaper smooth out your column. I made two blocks, one turned out smoother than the other, but I'm preferring this rawer one.
6/ Determine where the plexi block should be, and mark four lines with a pencil. Then with any regular old saw make the incisions about 2mm deep. Smooth out with a file and sand paper
But the first thing I did when it was done: stuff the clear box with all the flowers and leaves from my garden that I could get my hands on and laugh about this miniature Raf Simons for Jil Sander set.
I chose for moulding plaster instead of concrete, it is whiter, lighter in weight and more delicate. It was a super nice and messy experiment. But while getting to know this material a bit better and trying out several techniques at the same time, I didn't document every single step, but I'll do my best to explain it in words.
1/ Make a mold for your column with the cardboard, it should be about 2mm wider than your perspex cube on each side.(see image 3)
2/ Cover the mold with duct tape on the inside to make it waterproof. Fold the mold into shape and on the outside cover it with duct tape as well to avoid any leakage and to keep it in shape once the plaster will start to set.
3/ Make your plaster mixture and pour it in. Tap on the sides of the mold with a pencil for a couple of minutes to create vibration in the mixture and remove air bubbles.
4/ After a couple of hours remove the mold. But let the massive block dry completely for two more days.
5/ With sandpaper smooth out your column. I made two blocks, one turned out smoother than the other, but I'm preferring this rawer one.
6/ Determine where the plexi block should be, and mark four lines with a pencil. Then with any regular old saw make the incisions about 2mm deep. Smooth out with a file and sand paper
But the first thing I did when it was done: stuff the clear box with all the flowers and leaves from my garden that I could get my hands on and laugh about this miniature Raf Simons for Jil Sander set.
you need
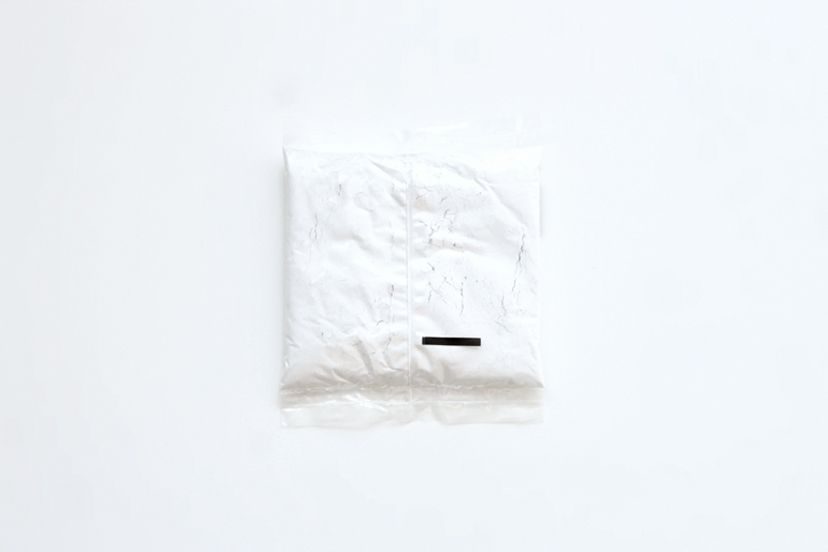
-plaster
-perspex (storage)cube
-cardboard
-duct tape
-file
-saw
-sandpaper
-plaster
-perspex (storage)cube
-cardboard
-duct tape
-file
-saw
-sandpaper


